 Preview · Windows 11 and macOS 15+
Screenshots whose marks stay alive
An arrow, a caption or a hidden area can be fixed a week later. Shots live in a library on your computer; the result goes to the clipboard, to a file, or straight to a person or an AI agent.
What it does
The right capture
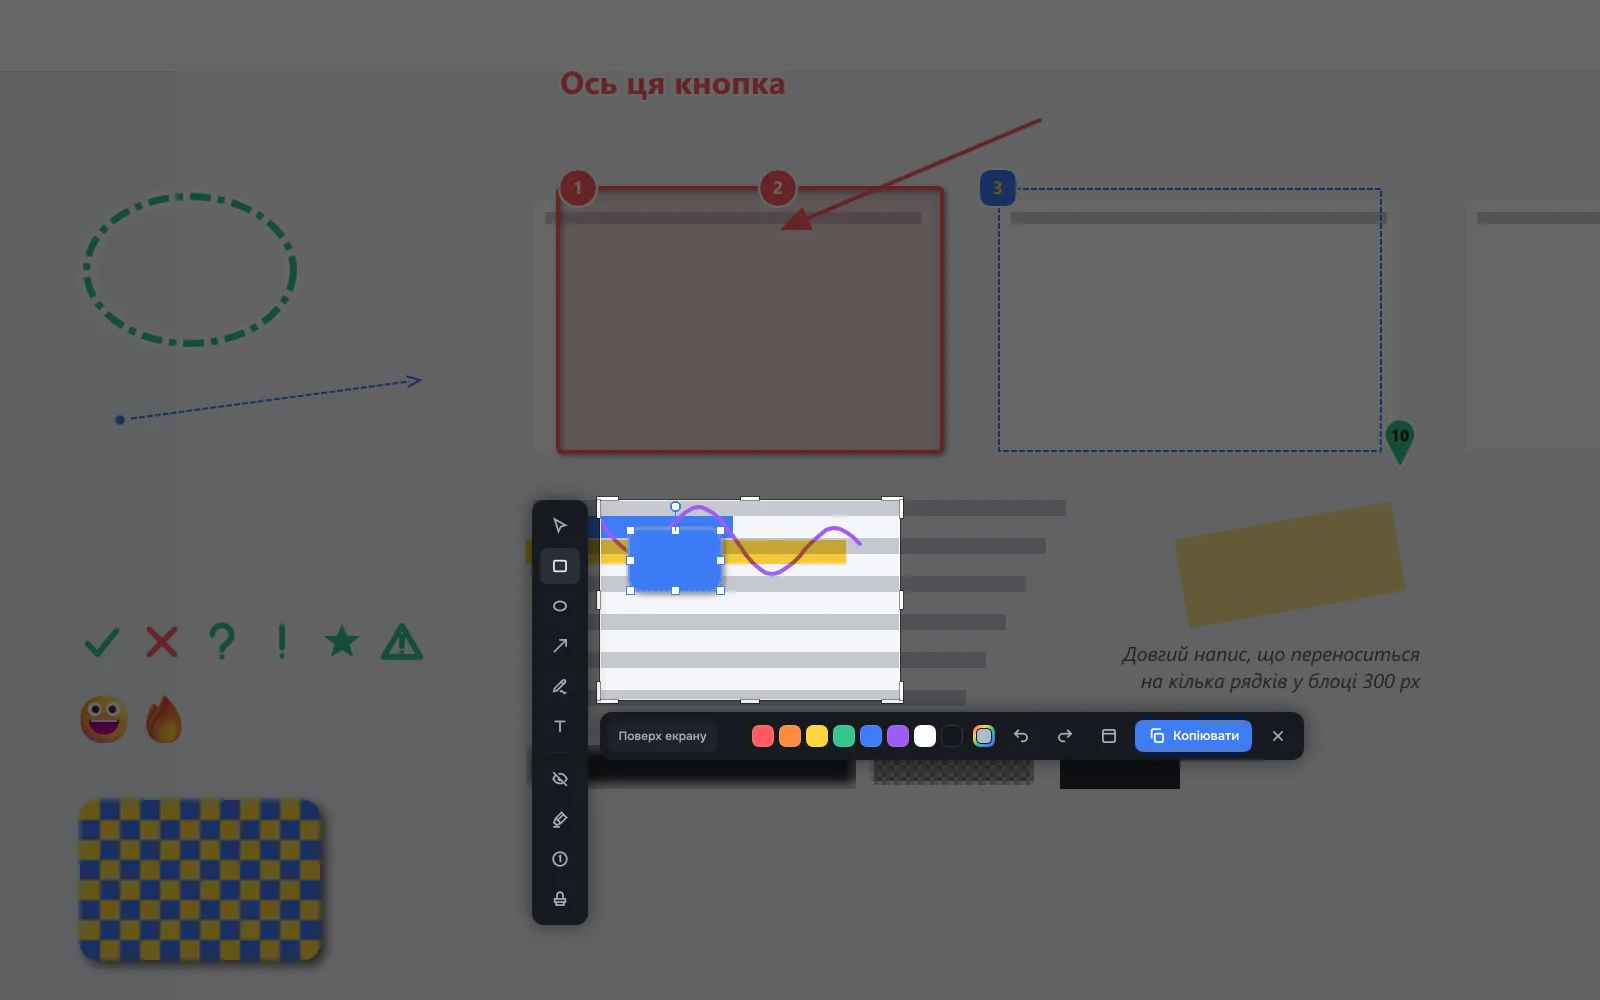
A region, a window without what covers it, or the whole screen — across several displays, with a loupe, a 3-2-1 countdown and scrolling capture of long pages.
Three actions on release
Open in the editor, straight to the clipboard and the library, or edit right over the screen. You decide what each gesture does.
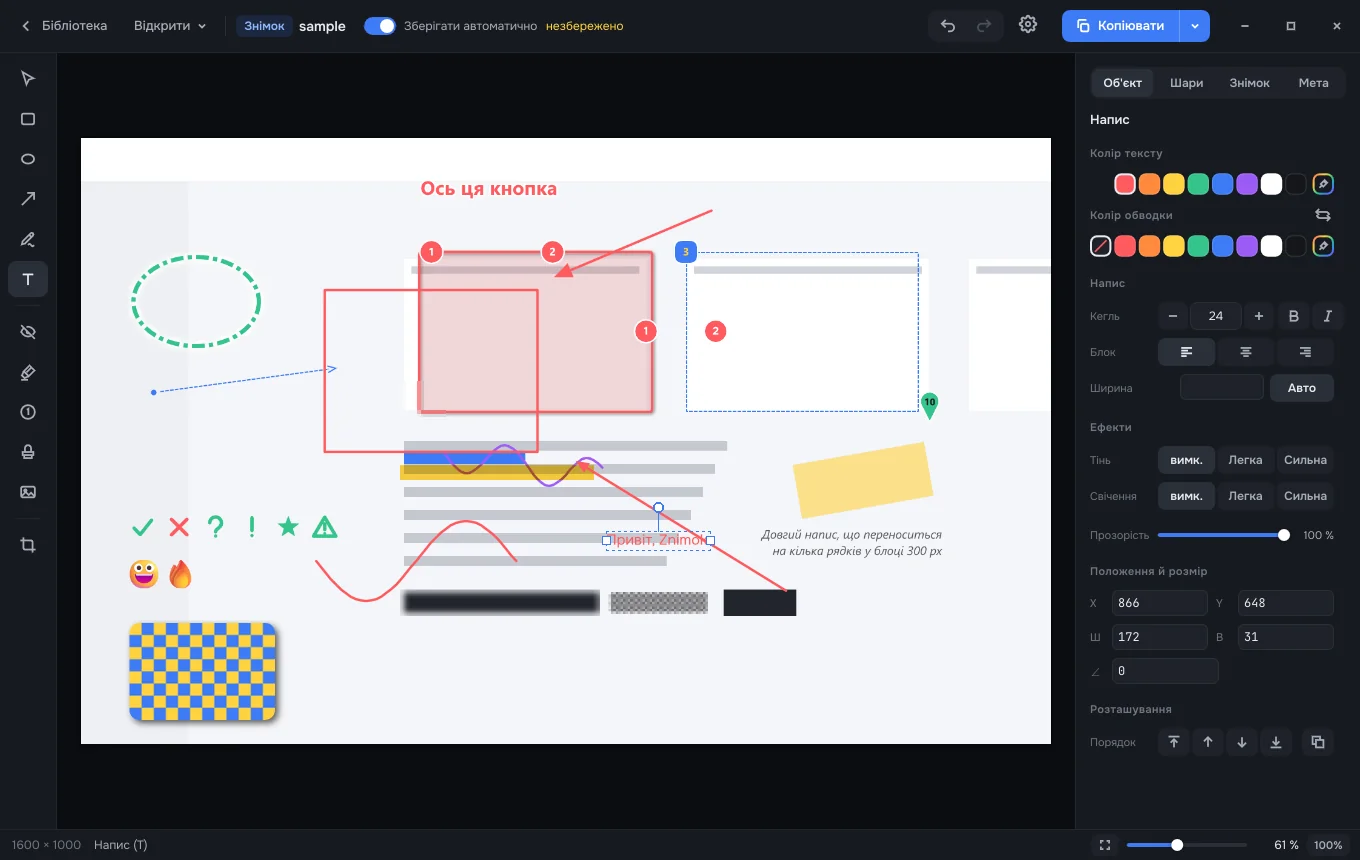
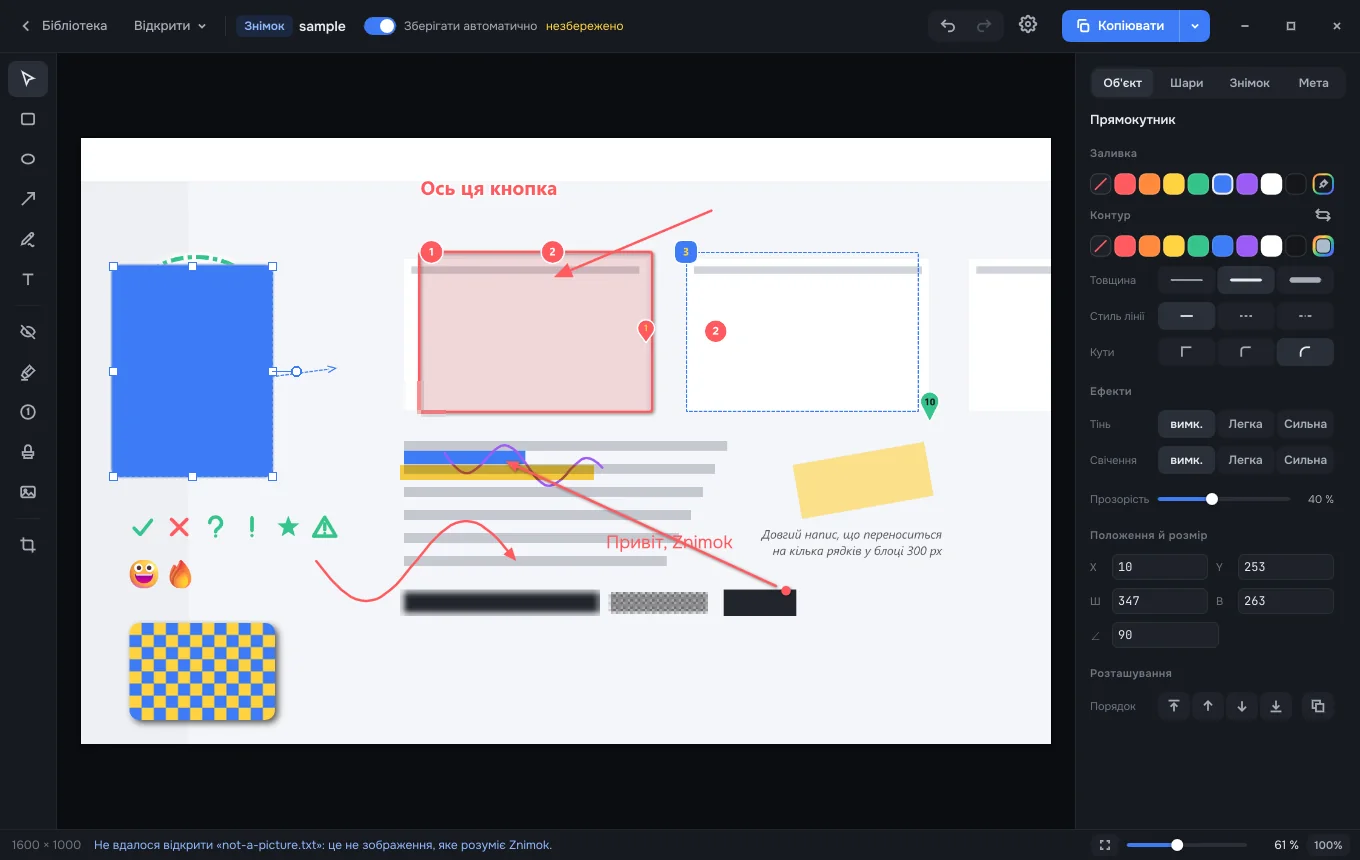
An editor that loses nothing
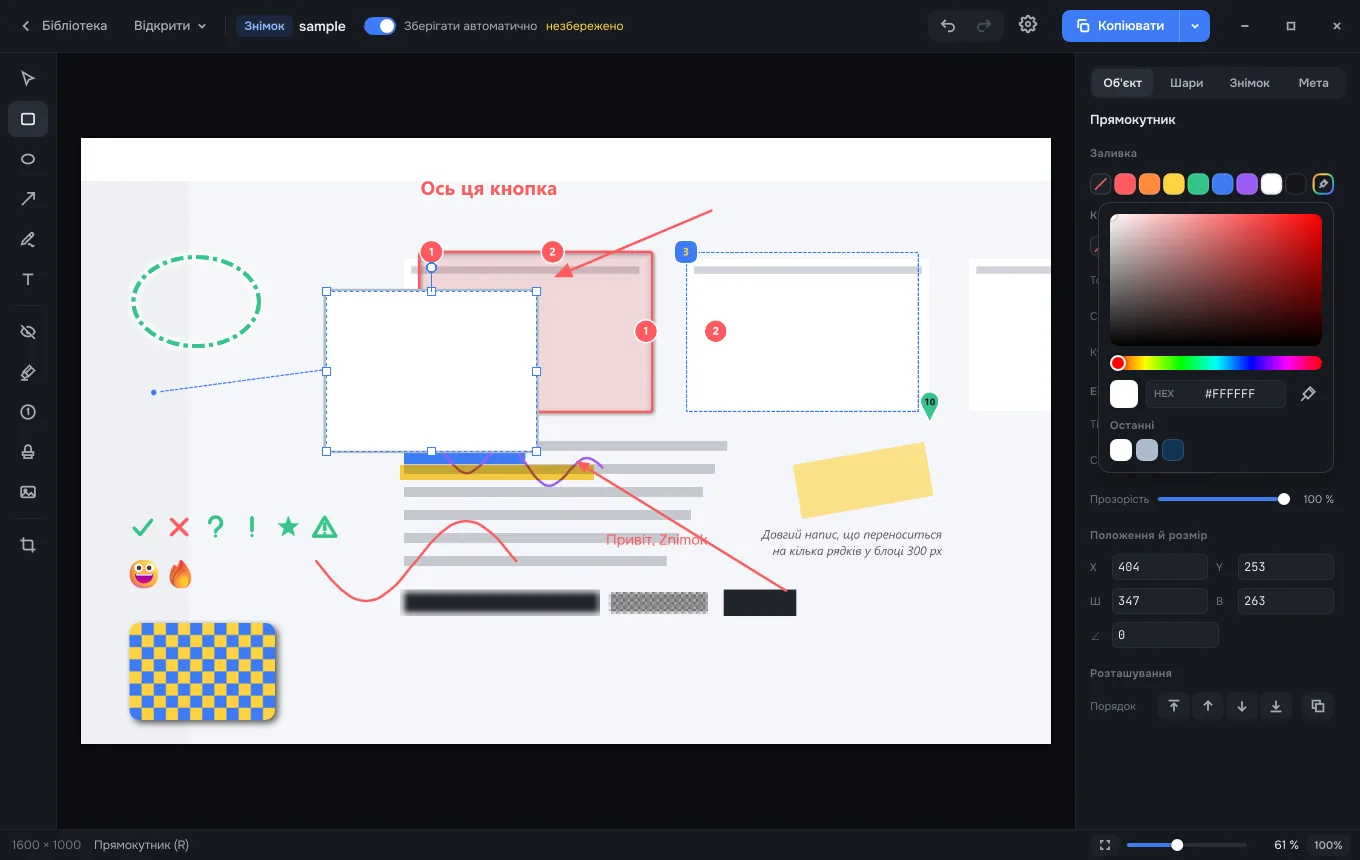
Boxes, arrows, text, counters, stamps, highlighter, hiding, turning marks, any colour with an eyedropper. Everything undoes.
Library
Thumbnails, search, a trash. The folder is yours: put it on a cloud drive and Znimok sees the changes.
For people and agents
Copy, drag into a chat, export to PNG/JPEG/WebP with metadata. For AI agents — an MCP server and the znimok command.
Calls no one
No telemetry, no ads. By itself Znimok goes online only to check for updates — and that can be turned off.
How it looks
Installing
Windows 11
- Run the
.msi— no administrator rights needed. - Until the installer is signed, SmartScreen says "Windows protected your PC": "More info" → "Run anyway".
- Take a shot with Alt+Shift+4 or "New screenshot" in the tray.
macOS 15+
- Open the
.dmgand drag Znimok to Applications. - Until Znimok is notarised: try to open it, then System Settings → Privacy & Security → "Open Anyway".
- Allow Screen Recording; take a shot with ⌃⇧4.